Price: $19.99


Rhubarb is the most flavorful when the leaf stalks are young and tender, about 7 to 14 inches long, soon after the leaf unfurls—this is the best time to harvest it. Usually, this happens between May and July when growing this as a spring crop. To prevent damaging the perennial plant and diminishing next year's harvest, grasp each leafstalk near the base and pull it slightly to one side. Using a knife to cut the stems can leave an entry point for crown rot diseases. Follow our guidelines for a bountiful rhubarb harvest. When to Harvest Rhubarb Rhubarb is a cool-season, hardy perennial that goes dormant in the winter with leaf stalks that emerge in early spring. The best time to harvest the pink or red leaf stalks with a unique tart and tangy flavor is when they are young and tender. As the stalks grow large, the texture becomes more stringy. As a rule of thumb, the deeper the red color, the more flavorful the stalks will be. Depending on the rhubarb variety, the leaf stalks may be only 12 inches long, or as long as two feet. Harvest season can begin as early as mid-March in warmer growing zones and continue through the end of June in cooler climates. How to Harvest Rhubarb When the leaf stalks have grown to their expected height and turned pink or red, it's time to harvest them. Harvest each stalk individually by grasping the stalk firmly near the base of the plant and pulling it to one side with a quick twist. The stalk will be released from the plant. Use a knife or garden shears to remove the leaves. Place the stalks in one basket and the leaves in another. While the leaves should not be eaten, they can be safely added to the compost pile. Do not use a knife or garden shears to cut the stalks from the plant1, as the knife can transplant diseases or pests from plant to plant. The open wound left by cutting the stalk can also invite diseases like crown rot into the plant. Have a couple of baskets or buckets on hand when harvesting rhubarb. The leaves should be trimmed from the stalk as soon as possible, as leaving them on will speed up the wilting of the stalks. How to Store Harvested Rhubarb If you plan to use the harvested rhubarb with a couple of hours, wash away any garden soil with fresh water and trim the ends. Cut into smaller pieces to stew, poach, roast, or purée. If you don't plan to use it immediately, the freshly harvested stalks can be kept in the refrigerator, unwashed, and wrapped tightly in plastic, for up to three weeks. Rhubarb can also be canned or frozen for use in future recipes. How to Know When Rhubarb Is Done Producing You will notice that the rhubarb plant will stop or slow down production of new growth as the weather warms. Stop removing leaf stalks when this happens to keep the plant healthy and vigorous. Allow the plant to keep all the remaining stalks and leaves to build energy reserves for next year. If the plant bolts or a seed stalk emerges from the plant, cut it off. If the plant flowers and sets seed, the harvest for next year will be much smaller.

Mint plants (Mentha spp.) are known for growing quickly and abundantly. While mint is beloved for its aromatic leaves, which can be used for cooking, aromatherapy, soaps, and more, the popular and fragrant perennial herb is vigorous and notoriously invasive if not planted and cared for properly. When planted directly in the ground, mint can spread easily via underground rhizomes. Once it's planted, mint can be very difficult to get rid of entirely. The best way to control mint's spread and keep it growing healthy is to grow it in a container and practice preventative maintenance such as selective harvesting and pruning. If you're growing mint in your garden, it's important to keep the plants in check by pruning and harvesting them regularly. Follow the tips below to learn how and when to harvest mint for peak flavor and health. When to Harvest Mint You can harvest mint leaves at any point of the plant's life, but the optimal time is once the mint plant has multiple stems that are at least 6 to 8 inches long. If you are growing a mint plant from seed, this timing should be about two months after sowing, and even less time if you planted a more developed seedling that you purchased from a plant nursery or farmers' market. The leaves and stems of a mint plant should be harvested before the plant goes to flower, usually right before summer. This is when the minty flavor will be at its peak; the leaves tend to take on a bitter flavor once the plant begins to flower. Your mint harvest will also be more aromatic and flavorful if you pick the mint stems and leaves in the morning, before the dew has a change to evaporate in the summer sun. As a rule of thumb, do not harvest more than a third of the mint plant at a time. Removing too much can significantly weaken the plant and impact its future growth. Want more gardening tips? Sign up for our free gardening newsletter for our best-growing tips, troubleshooting hacks, and more! Why Mint Needs to Be Cut If left to its own devices, mint will easily and quickly take over your yard or garden (and even your neighbor's yard and garden). When you cut back mint, it can help prevent this rapid spread. Pruning mint regularly also helps keep a mint plant healthy—encouraging it to grow full and bushy—and prevent it from flowering and going to seed. When growing mint in your garden, it's important to cut vertical shoots as well as horizontally growing stolons, also known as a runner. If you don't cut both parts of the mint plant, it will quickly crowd out other plants in your garden bed. Once a mint plant starts to bolt, the plant's energy starts going towards producing blooms and seeds. Cutting the flowers off can prevent the plant from shifting into reproductive mode, instead encouraging more leaf growth and reducing the risk of it spreading to areas where it's unwanted. How to Harvest Mint Once established, mint plants can be harvested at any time. To start, find a pair of sharp pruning shears or scissors. Wipe them down with an alcohol wipe to ensure they are clean and free of disease. Using sharp, clean pruning shears, snip a mint stem right above a leaf node. Always cut off whole stems rather than individual leaves, as this will encourage a bushier growth habit. Rinse and dry the mint. Wrap it in a damp paper towel and store in a plastic bag in the fridge. To air-dry your harvested mint, tie the mint sprigs and hang upside down to dry in a cool, dry place. Tip The methods you use to harvest mint plants matters. To encourage full, bushy growth in your mint plant, make sure you are cutting back the stems just above where two leaves join the stem, called a node. If you just pluck away one mint leaf at a time, this will weaken the plant. By cutting above a node, you will encourage new shoots to grow faster and fuller. How to Prune Mint for Flowering Generally, mint plants are grown for their aromatic leaves. However, if you want to encourage your mint plant to flower, sunlight is key, as it stimulates mint flowering. To get mint plants to flower, you want to provide the plant with their desired conditions. In addition to sunlight, mint prefers temperatures between 65°F–70°F and soil that is kept moist. If you care for your mint plant properly, it will continue to produce new shoots and flowers through autumn. Most mint varieties have two blooming periods: early summer and late summer. The first flowering period typically takes place from June to July. If you cut back those flowers, the plant will undergo a second flowering period from August to September.
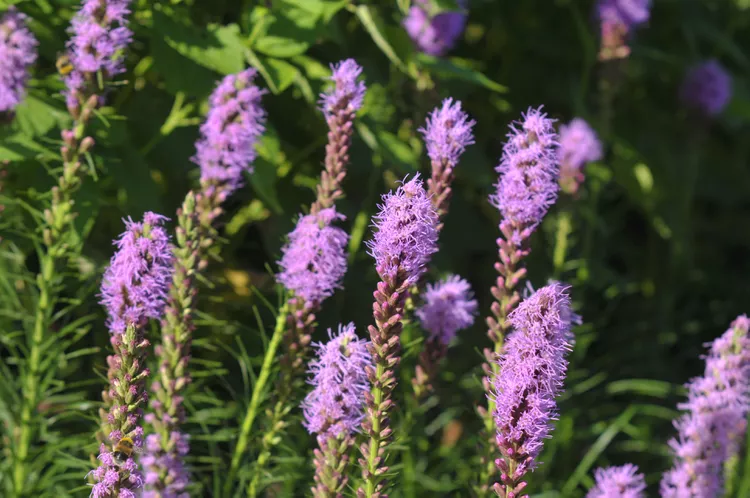
Liatris, also known as blazing star or gayfeather, is a long-blooming perennial wildflower. It has highly unusual flower heads featuring tiny and colorful star-like blossoms arranged around a long upright bottlebrush spire. The grasslike leaves are narrow and inconspicuous, forming a basal clump, but they turn an attractive bronze color in the fall. Blazing star is adaptable to many warm and cold climates and requires full sun, and well-drained, slightly acidic soil but prefers drier winter conditions. Blazing Star Care Here are the main care requirements for growing blazing star: Plant blazing star corms in the spring after the last frost date spaced 12 to 15 inches apart and two to four inches deep. Place corms in well-draining soil that's slightly acidic or neutral. Avoid planting in clay or overly rich soil for best results. Put blazing star plants in full sun. Water new plants or corms thoroughly, and then water only during the hottest months. Light Choose a site with full sun to plant blazing star corms. These are prairie plants in their native habitat, so the more sun, the better they will perform. Soil Just about any soil, at any level of fertility, will successfully grow blazing star corms, although quick drainage is essential to prevent rot. Very rich soils may require that you stake the plants, as the stalks can be a bit floppy. Blazing star prefers a slightly acidic to neutral soil pH. Heavy clay can cause root rot, especially in winter, if the soil doesn't drain well. Water After planting, water the corms thoroughly. The corms do not need additional irrigation until stalks sprout. As the plants begin active growth, one inch of water a week during the hottest months will prevent stunted flowers and leaf scorch. Apply water to the base of the plants, or use drip irrigation, to avoid spreading fungal diseases. These plants need more water in their first year; afterward, they have good tolerance to drought and dry soil conditions. Temperature and Humidity Hardy in zones 3 to 9, blazing star is quite tolerant of summer heat and humidity in warm climates and will survive very cold winters, provided that the soil is not too wet. Wet winter soils can cause the corms to rot. Fertilizer Blazing star is not a heavy feeder, but if the soil fertility is poor you can apply a balanced flower fertilizer each spring as active growth begins. In most decent soils, however, it usually does fine with no feeding whatsoever. Types of Blazing Star L. spicata, the most common garden species, is very often planted in its original native form. Several named cultivars are popular, and there are also a couple Liatris species of note: ‘Alba’: This cultivar has pure white flowers and grows about 18 inches tall. ‘Callilepsis’: This cultivar has the expected purple flowers on especially long stems that are ideal for cut flower arrangements. ‘Kobold’: This is a smaller, more compact variety with deep-purple flower heads. This variety is a good choice for the foreground of mixed perennial beds. 'Floristan White' and 'Floristan Violett': These cultivars have beautiful, 3-foot flower spikes that bloom in July and are known for having an especially long bloom period. 'September Glory': This plant blooms from August to September with 4-foot purple spikes. L. aspera (rough blazing star): This species has purple flowers that grow from 15 to 40 inches tall, depending on location. It has less showy flowers but is a good performer for dry, barren soil. L. pycostachya (prairie blazing star or Kansas gayfeather): This plant blooms later, in August through September. It is available in white, purple, or rose-purple flowers that grow on spires reaching two to five feet tall. Propagating Blazing Star As blazing star matures, it typically develops offset corms. It's easy to propagate this plant by digging up the root corms and separating them. Doing this every few years will also help rejuvenate the plants and extend the life of a clump. Here's how: In spring as new growth is just beginning, use a shovel or trowel to dig up the entire clump. Separate the clump into sections, each with at least one thick corm with at least one "eye" or bud. Discard any corms that are soft or completely desiccated. Plant the corms immediately in their new locations, after carefully loosening the soil to at least five inches deep. Space pieces at least 1 foot apart to ensure good air circulation. Corms can also be divided in fall, and then stored over winter for spring planting. How to Grow Blazing Star From Seed Blazing star can also be grown from seed, although patience is required since the first blooms take two years or more to appear. The seeds will require four to six weeks of cold stratification to germinate. If starting seeds indoors, take these steps: Plant the seeds in small pots or starter trays filled with standard potting mix. Moisten the mix, then plant the seeds in groups of three to five seeds, just barely covering them with additional potting mix. Place the containers in a spot that receives morning sun and where nighttime temperatures remain above 50°F. Continue to moisten the potting mix until the seeds sprout, which usually takes two to four weeks. Keep the seedlings moist as they grow in a sunny location until it's time to transplant them outdoors after all danger of frost has passed. Harden off seedlings before planting them in the garden. New seedlings may need protection from feeding rabbits for the first year. Potting and Repotting Blazing Star Native perennials such as blazing star are not commonly grown in containers, but it is certainly possible to do so. Any well-draining container filled with a good porous potting mix will work. Planting and care are identical for in-ground plants, but you will probably need to water more often, as the soil in containers tends to dry out faster than garden soil. To ensure winter survival, move the containers to a sheltered location as freezing weather approaches. Some gardeners have had success placing containers in a cold frame or cool garage, heaping them with mulch, or even burying the container in the garden for winter. Don't try to bring a potted blazing star indoors to grow as a houseplant over winter, as these plants require weeks of cold dormancy to reset themselves for spring growth. Overwintering Within its hardiness range, blazing star does not need any special winter cold protection. The normal pruning routine is simply to cut off the flower stalks near ground level, though you can also leave the flower heads in place for the benefit of winter-feeding birds. Blazing star does not like wet winter soil so avoid heaping mulch over the plant crowns for the winter, as this can trap moisture and encourage bulb rot. Make sure to clean away soggy garden debris in the spring before new growth begins. Common Pests & Plant Diseases Blazing star does not suffer from any serious insect problems, but several fungal diseases can occur, including leaf spot, rust, stem rot, powdery mildew, and verticillium wilt. The best approach is to prevent these diseases by giving the plants good sunlight and air circulation. Mild fungal diseases, such as leaf spot and powdery mildew, are usually not serious and may not even require treatment. More severe diseases sometimes can be treated with fungicides, but it may be necessary to remove and destroy badly affected plants. How to Get Blazing Star to Bloom Bloom Months Blazing star typically blooms from July into late fall. Young plants sometimes withhold flowers for the first year or two until the root systems become well established. What Do Blazing Star Flowers Look and Smell Like? The pure species has bright purple flower spikes, but there are also pink and white cultivars available. Fresh blazing star does not have any scent, but dried flowers may emit a faint vanilla fragrance. How to Encourage More Blooms The largest corms will produce the most impressive flowers. For better blooms, start by choosing corms that approach three inches or more in diameter. These structurally swollen dormant stem parts will send up shoots followed by flowers approximately three months after a spring planting. If mature plants fail to bloom at all, it may be a problem of soil fertility. Try blending in a slow-release fertilizer into the soil around the plants each spring. Also, check to ensure the plant receives enough sunlight. Deadheading Blazing Star Flowers Deadheading blazing star after the first bloom of the year may encourage a second blooming. Do not deadhead any blooms if you want the plants to reseed. Common Problems With Blazing Star As a hardy native wildflower, blazing star generally thrives with relative neglect. When problems occur, it is often the result of too much care—too much soil fertility or too much watering. Flower Stalks Flop Over Blazing star is a sturdy plant, even when growing in average or poor, rocky, gravelly soil. In most cases, staking the plants is not necessary. Paradoxically, rich, fertile soils can cause the flower stalks to topple over. In this case, you may need to stake up the flower stalks. Plants Turn Mushy and Break Mushy plants that break at the ground level indicate stem or corm rot, which is caused by wet soil that introduces fungal disease into the roots or stems. Unfortunately, these plants will need to be removed. Future problems can often be avoided by reducing water or improving soil drainage.
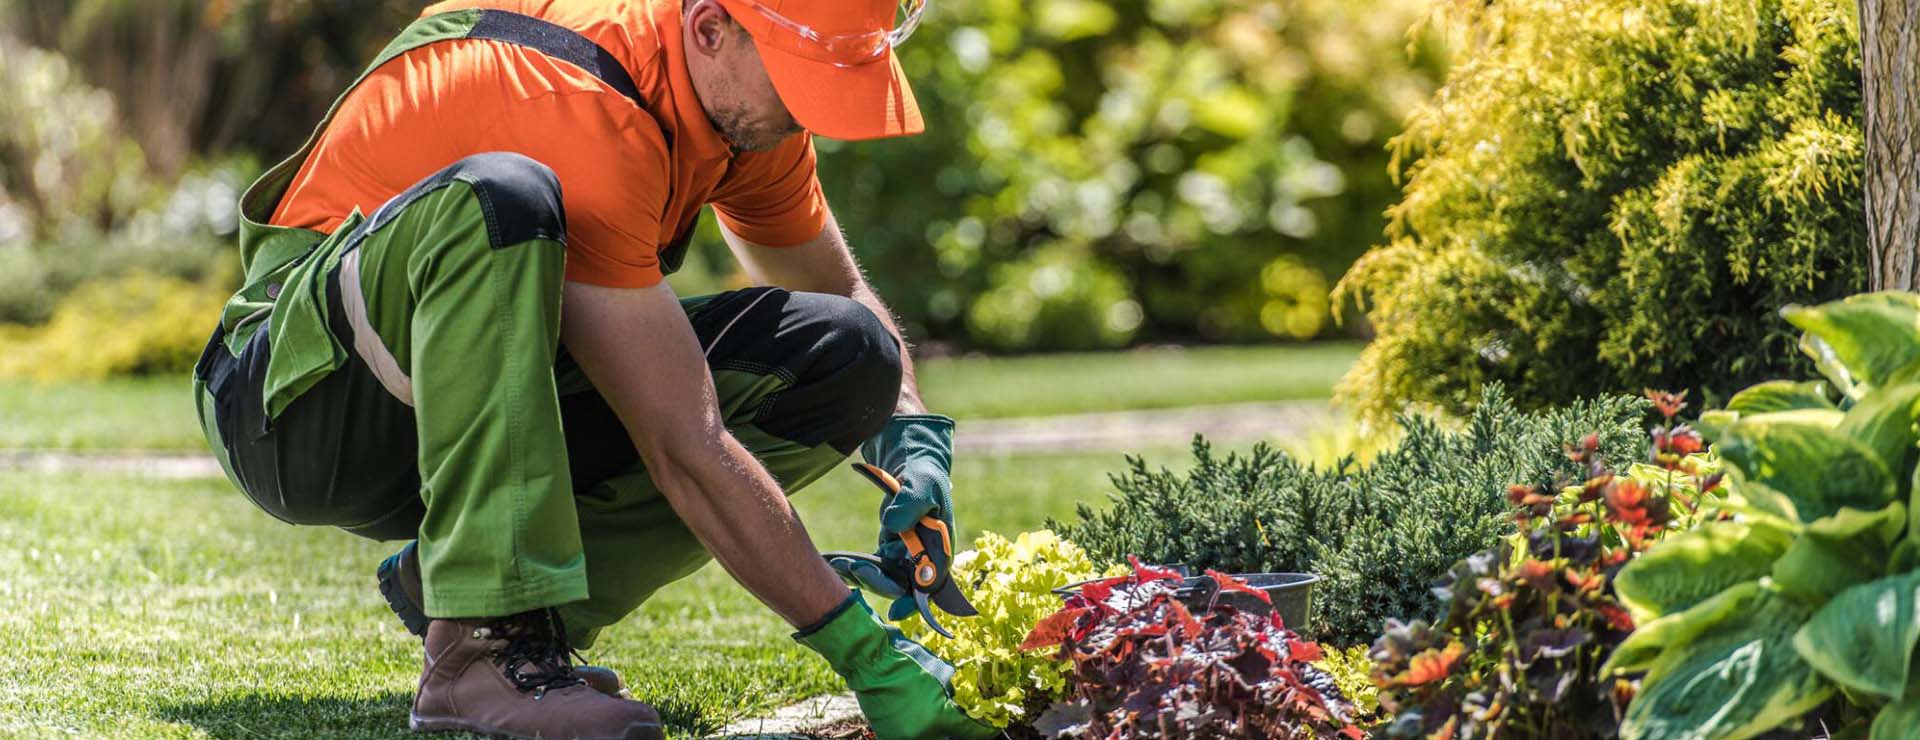
Get inspiring landscaping ideas and tips on plant selection, hardscaping, and seasonal upkeep.Landscaping gives your yard a polished look by adding practical elements such as paths and helps you solve problems such as poor drainage. No matter the size and shape of your yard, this is where you can find all landscaping ideas and strategies you'll need.

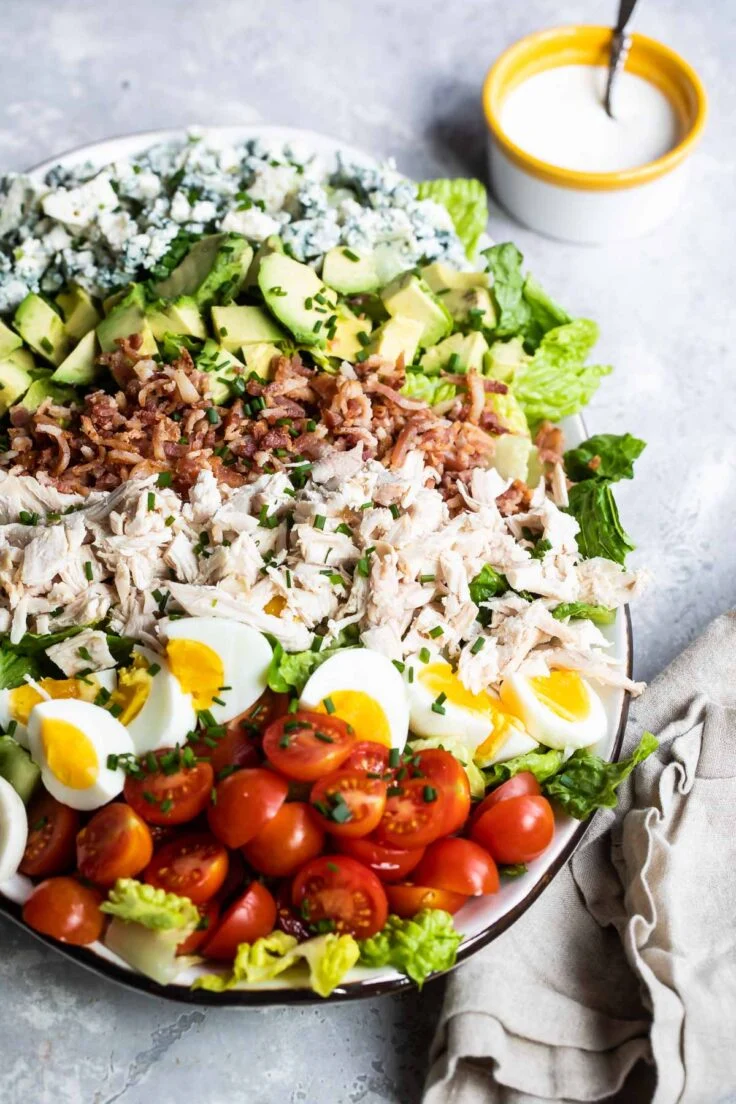
Zucchini "sushi" is a fun, low-carb play on traditional sushi, using zucchini ribbons in place of nori. With flavors reminiscent of the Philly roll, this riceless version is fresh, crunchy and delicious. It’s a great finger food for kids, too. Make them your own by adding your favorite vegetables, such as romaine, sprouts, mushrooms, radishes and bell peppers. And, instead of cream cheese, try it with hummus. —Audrey Alfaro, Rapid City, South Dakota

You'll need 10 minutes of prep time to make this Crockpot chicken casserole. Your trusty slow cooker will do the rest.

Of all the recipes I make in my slow cooker, this Crock-Pot BBQ chicken is my most treasured. If you enjoy your BBQ sweet with a little spice, this will be your new favorite, too.
What We're Loving Right Now